
Plant Repotting Tools Guide: Must-Have Supplies Checklist
371 views
A healthy plant can still struggle after repotting. I've seen it happen more times than I'd like to admit. The culprit usually isn't the new pot or even the soil—it's rushing into the job without the right tools.
One afternoon, I tried repotting a root-bound peace lily using a kitchen spoon, dull scissors, and an old plastic bucket. The roots tore instead of separating cleanly, soil ended up everywhere, and I spent more time cleaning than gardening. That experience changed my approach.
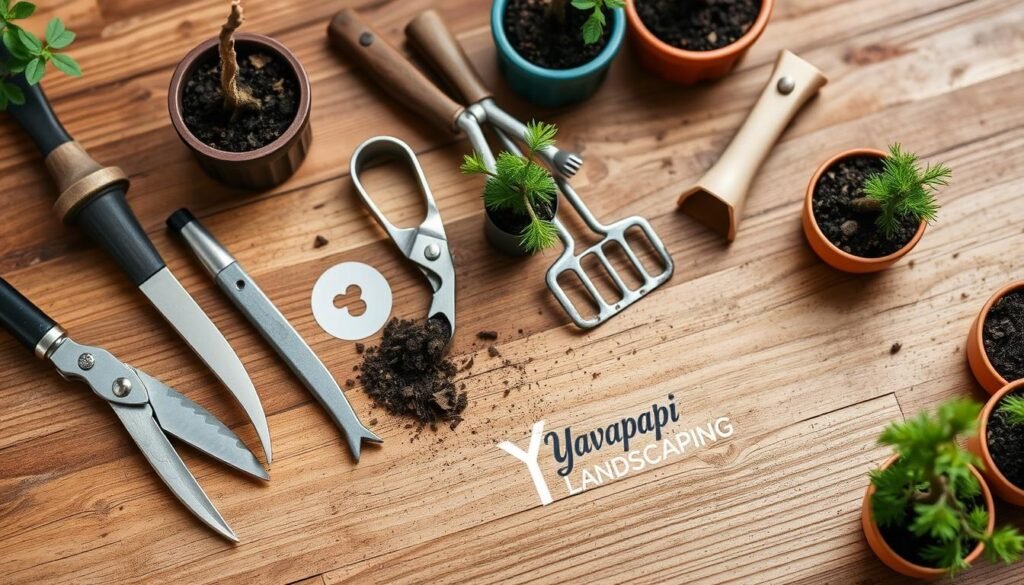
Repotting doesn't require expensive equipment. It does require a handful of tools that make the process cleaner, safer, and far less stressful for both you and the plant. Here's what actually deserves space in your gardening kit.
Why the Right Tools Matter More Than You Think
Repotting isn't just moving a plant into a larger container.
Roots are disturbed. Soil structure changes. Moisture behaves differently. Every cut, scrape, or unnecessary squeeze affects how quickly the plant recovers.
Clean, properly sized tools reduce root damage and lower the chance of introducing fungal diseases or bacterial infections. Professional growers routinely disinfect pruning tools between plants with approximately 70% isopropyl alcohol or a 10% bleach solution (followed by thorough rinsing and drying for bleach-treated tools) to reduce disease transmission. That small habit saves far more plants than many beginners realize.
A basic toolkit also speeds everything up. Less time with exposed roots usually means less transplant shock.
The Core Repotting Kit
These are the supplies I reach for every single time.
Tool | Purpose | Worth Buying? |
|---|---|---|
Hand trowel | Scooping and filling potting mix | Absolutely |
Bypass pruning shears | Trimming damaged roots and stems | Yes |
Gardening gloves | Protect hands from thorns, sap, and rough soil | Yes |
Potting mat or tray | Contains spilled soil | Highly recommended |
Watering can | Water immediately after repotting | Essential |
Root rake or hand cultivator | Loosens root-bound plants | Helpful |
Soft brush | Cleans leaves and pot edges | Nice to have |
Notice what's missing.
You don't need a huge collection of specialty gardening gadgets. A few well-made basics outperform a drawer full of cheap tools.
Hand Trowel: The Workhorse
If I could keep only one repotting tool, this would be it.
A narrow stainless-steel hand trowel slides between roots without forcing them apart. Plastic versions are lighter and cheaper, but they often flex under compact soil.
Look for these features:
Stainless steel blade
Comfortable rubber or wooden grip
Blade width around 2–3 inches (5–7.5 cm)
One-piece construction if possible
Quality trowels from brands like Fiskars, Burgon & Ball, and DeWit generally cost between US$10 and US$30, depending on materials and handle design.
Skip oversized landscaping trowels. Indoor pots rarely need them.
Pruning Shears: Sharp Beats Strong
A surprising number of plants need root pruning.
Dead roots become mushy. Circling roots wrap around themselves. Broken roots should come off cleanly instead of hanging by fibers.
That's why bypass pruners outperform anvil-style pruners for most repotting work. Their scissor-like cutting action produces cleaner cuts that heal more quickly.
Before every session:
Wipe blades with 70% isopropyl alcohol.
Check for sap buildup.
Sharpen if cutting starts to crush rather than slice.
Dull blades create unnecessary stress.
Gloves Aren't Just for Roses
Some gardeners skip gloves because they like feeling the soil.
Fair enough.
Still, gloves become valuable when handling:
Snake plants
Euphorbia species (irritating latex sap)
Cacti
Citrus plants with sharp thorns
Rough terracotta pots
Nitrile-coated gardening gloves balance protection with finger dexterity much better than thick leather gloves for indoor gardening.
Don't Ignore the Potting Mix
The best shovel won't rescue poor soil.
Different plants require different growing media.
Plant Type | Recommended Mix |
|---|---|
Succulents | Cactus mix with pumice or perlite |
Tropical houseplants | Peat-free or coco coir-based indoor potting mix with perlite |
Orchids | Bark-based orchid mix |
Carnivorous plants | Sphagnum peat moss with perlite (avoid fertilizer) |
Herbs | Well-draining all-purpose mix |
Many commercial indoor potting mixes already include slow-release fertilizer, wetting agents, and perlite. Read the label before adding extra fertilizer immediately after repotting.
That's a mistake beginners make surprisingly often.
Fresh soil frequently provides enough nutrients for several weeks or even months.
A Root Rake Solves One Frustrating Problem
Ever pulled a plant from its pot and discovered a dense ball of roots wrapped around itself?
It almost looks like a basket.
Pulling those roots apart with your fingers sometimes works.
Sometimes it doesn't.
A three-prong hand cultivator or root rake gently teases apart compact root systems without excessive force. Bonsai growers have relied on similar tools for decades because they're precise and surprisingly gentle.
Slow progress beats broken roots.
Potting Mats Keep the Mess Contained
This tool seems unnecessary.
Until your first apartment repotting session.
Waterproof potting mats usually include raised snap corners that trap spilled soil instead of letting it scatter across tables or floors.
Most fold flat afterward.
No vacuum cleaner required.
Silicone versions rinse clean easily and don't absorb moisture.
Watering Equipment Matters Too
Repotting doesn't end when the plant reaches its new container.
Proper watering settles air pockets around the roots.
Indoor gardeners generally prefer watering cans with narrow spouts because they control flow better around delicate stems. For seedlings or fragile foliage, a removable rose attachment creates a softer shower.
Rainwater is ideal for some sensitive plants such as carnivorous species and certain orchids where local tap water is very hard, although many common houseplants adapt well to ordinary tap water that's allowed to reach room temperature.
Temperature matters.
Very cold water can temporarily stress freshly disturbed roots.
Choosing the Right Pot Is Part of the Toolkit
Oddly enough, the container itself deserves a place on this checklist.
Here's a quick comparison.
Pot Material | Pros | Cons |
|---|---|---|
Plastic | Lightweight, inexpensive, retains moisture | Less breathable |
Terracotta | Excellent airflow, dries quickly | Heavy and fragile |
Ceramic glazed | Decorative, retains moisture | Often expensive |
Fabric grow bags | Superb drainage | Dry out rapidly indoors |
Avoid jumping too far in pot size.
A common recommendation among horticulturists is increasing container diameter by roughly 1–2 inches (2.5–5 cm) for most houseplants. Oversized pots hold excess moisture longer, increasing the risk of root rot.
Bigger isn't automatically better.
Cleaning Supplies Deserve Their Own Spot
Used pots can carry fungal spores, insect eggs, algae, and mineral deposits.
Before reusing containers:
Remove loose soil.
Wash with warm water.
Scrub stubborn residue.
Disinfect.
Allow the pot to dry completely.
A stiff nylon brush works better than metal brushes because it won't scratch glazed ceramic surfaces.
Little details like this often prevent recurring disease problems months later.
Optional Tools That Are Surprisingly Helpful
Not every gardener needs these, but they earn their keep.
Moisture Meter
A simple analog moisture meter helps estimate soil moisture deeper in the pot. They're especially useful for large containers where the surface dries much faster than the root zone.
Just remember: readings can vary depending on soil composition, and they're best used as a guide rather than an absolute measurement.
Chopsticks
Seriously.
Wooden chopsticks gently loosen compacted soil around roots, especially in bonsai or small succulents. They're inexpensive, reusable, and remarkably versatile.
Spray Bottle
Freshly repotted tropical plants often appreciate higher humidity during recovery. A fine mist bottle also helps clean dusty foliage before inspecting for pests.
Common Repotting Mistakes Your Tools Can Prevent
Many failures have nothing to do with gardening skill.
They're avoidable.
Using kitchen scissors instead of sharp pruning shears.
Repotting without disinfecting tools between sick and healthy plants.
Packing soil tightly with hands instead of allowing natural settling.
Choosing decorative pots without drainage holes.
Forgetting to water immediately after repotting.
Leaving roots exposed while searching for missing supplies.
Preparation removes most of these headaches before they happen.
Frequently Asked Questions
How often should houseplants be repotted?
Most indoor plants benefit from repotting every 1–3 years, depending on growth rate. Fast-growing pothos and monsteras often need more frequent attention than slow-growing snake plants or ZZ plants.
Can I reuse old potting soil?
It's possible, but only if it's free from pests and disease. Refresh it by removing old roots and blending in new potting mix. Soil from diseased plants should be discarded.
Is a drainage hole absolutely necessary?
For nearly every houseplant, yes. Drainage holes allow excess water to escape and dramatically reduce the likelihood of root rot. Decorative cachepots work well if the growing pot inside has proper drainage.
Should I fertilize immediately after repotting?
Usually not. Fresh commercial potting mixes often contain enough nutrients for several weeks. Fertilizing too soon can stress newly disturbed roots.
What's the easiest way to remove a root-bound plant?
Support the base of the plant, squeeze flexible plastic pots gently, then tip the container sideways. If roots remain stuck, slide a narrow trowel or butter knife around the inside edge rather than pulling forcefully on the stem.
Build Your Kit Once, Then Keep It Ready
Repotting becomes much less intimidating when every tool has a purpose and a place. A sturdy trowel, sharp bypass pruners, clean pots, quality potting mix, and a few thoughtful extras will handle nearly every indoor gardening project you'll encounter. Before your next plant starts pushing roots through the drainage holes, spend a few minutes organizing your supplies—you'll finish faster, make fewer mistakes, and give your plants a smoother start in their new home.
plant repotting tools
repotting supplies checklist
gardening tools
indoor plant care
plant potting kit
repotting plants
plant care essentials
gardening supplies
houseplant tools
plant maintenance
Found this helpful? Share it!